Existing projects from JIRA can be imported in Yodiz. The process is quite simple and convenient for users to migrate their data to Yodiz. Jira Users, Custom fields and tags are also imported with project data.
Jira Project Import
You can access Yodiz Import feature for Jira by following navigation.
Go to Navigation menu, Settings ![]() dropdown > Import Data
dropdown > Import Data
Select Jira from left “Import Using API” sidebar.

Fill in Jira account details and press “Jira Login” button to proceed.
Note: Be precise to fill “https://yourdomain.atlassian.net” in domain field instead of atlassian.com
1. Import Users
All your Jira project users will be imported with project data. Project Users list is read only and no user can be added or removed from this list.
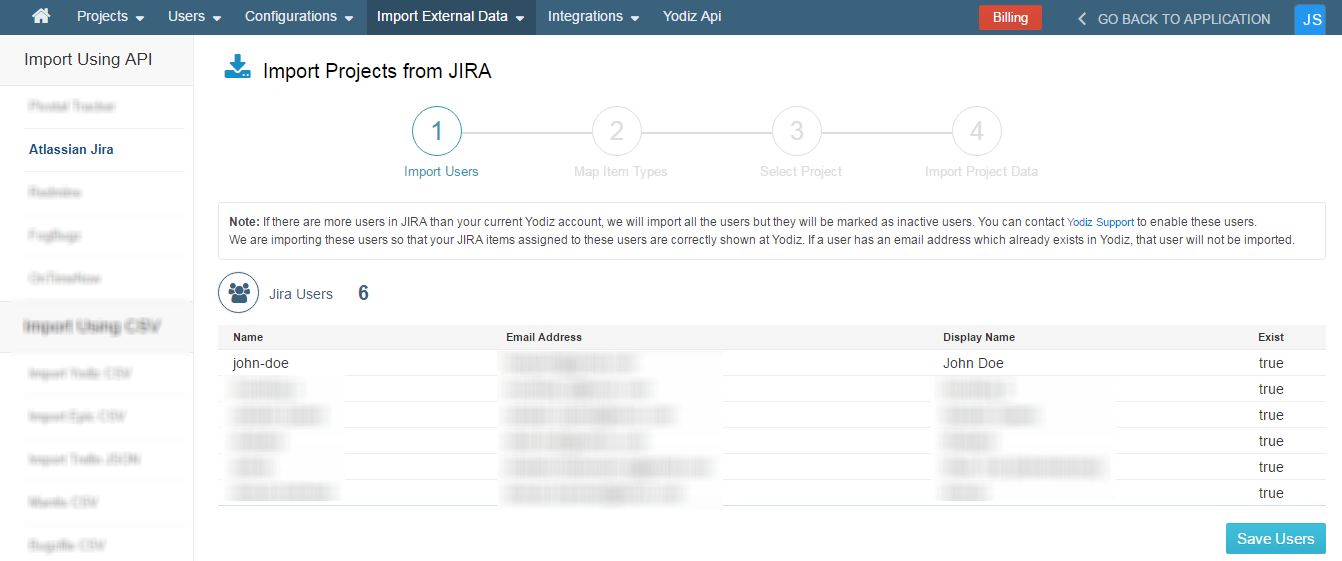
Note: Imported Jira users will be automatically active in Yodiz. Users are inactive, if number of users exceeds your Yodiz package limit. Upgrade Yodiz package and activate them from Manage Users.
Click on Save Users button to add users in Yodiz and move to next step.
2. Map Item Types
In this step, you can select what item types you want to show in Yodiz. This is the most vital step as it classifies what Jira items will appear in Yodiz as which item type. Mapping is quite customizable.
Map each Jira item type with Yodiz items from dropdown. For example “New Feature” Issue from JIRA can be chosen to appear as Item type: Issue, User Story or Epic in Yodiz.
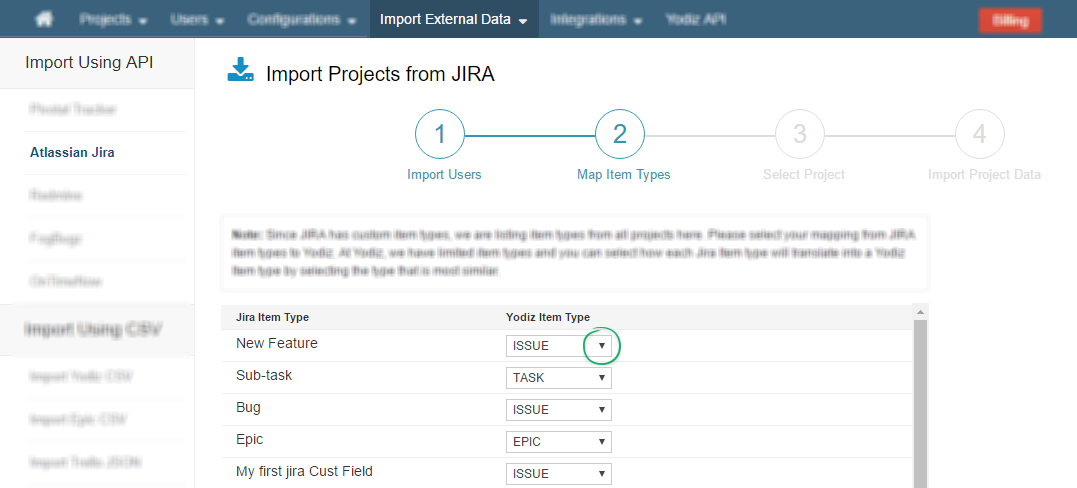
You can select same item type against many Jira Item types. Once you have made your desired selections under mapping screen, click on the Use Mapping option.
Limitation Notice: Only Jira Sub-Task can be mapped to Yodiz Task.
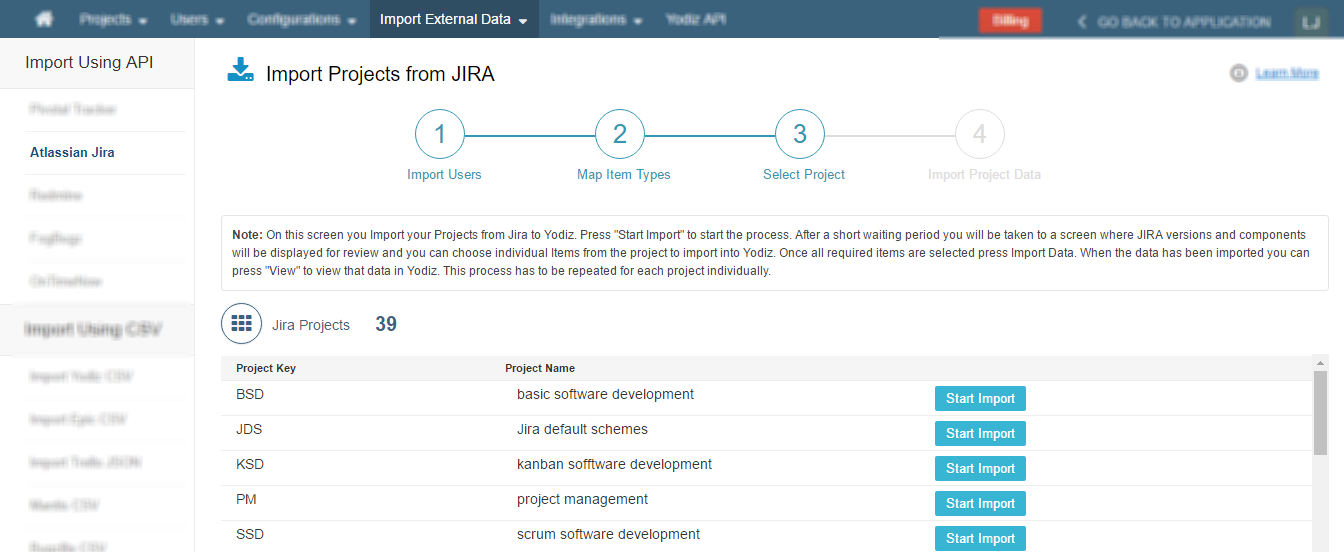
3. Select Project
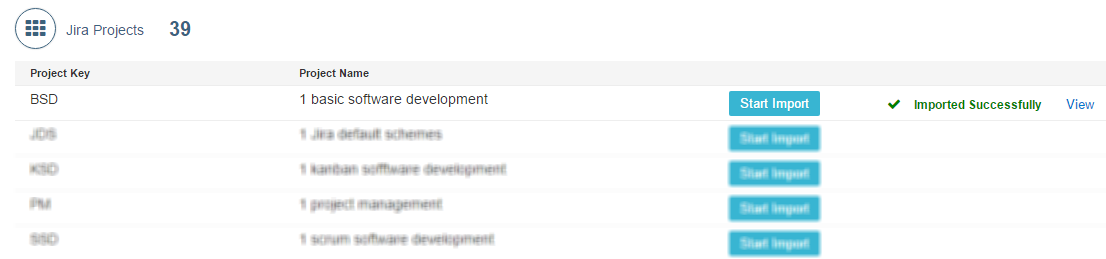
Once you are done mapping, you will be shown a list of Projects from Jira. You can click on the “Start Import” button given to each project. Only one Project can be imported at a time. You can import another project once you are done importing the first one.
Once you know which projects you want to import. Click on “Start Import” Button.
4. Import Project Data
You will be shown the following screen as soon as you click on “Start Import” button.
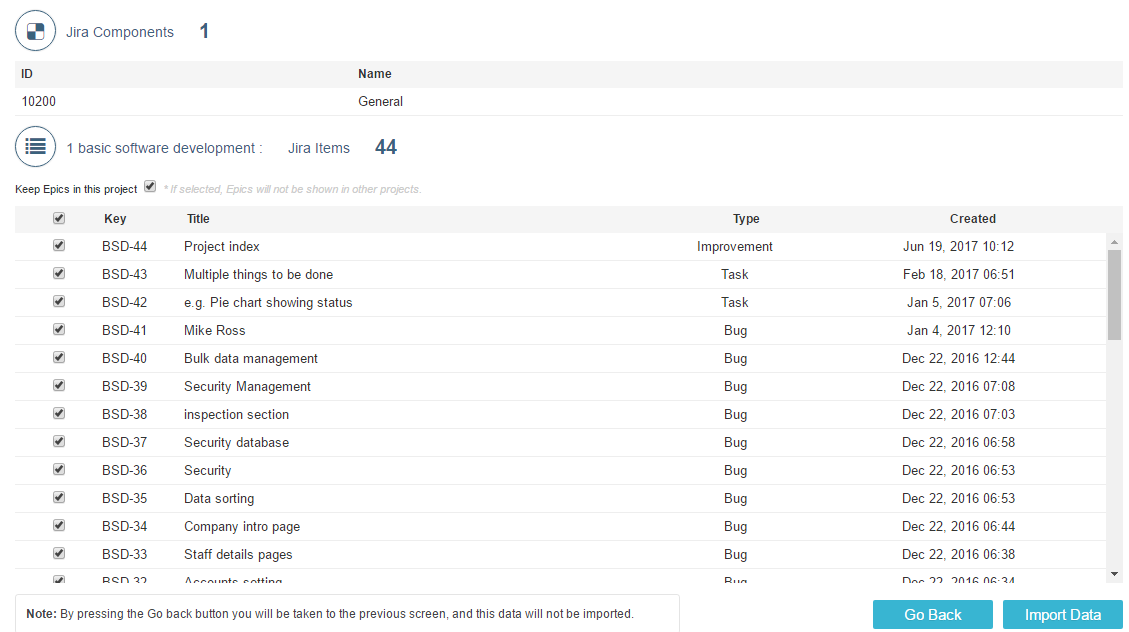
First two Sections, Jira Versions (Release) and Jira Components are read-only tables.
In third section, you can select which Jira Items you actually want to import: titled with,
Unchecking the “Keep Epics in this project” option will import all the chosen project epics as Global Epics in Yodiz.
Note: Versions in Jira are called “Releases” in Yodiz.
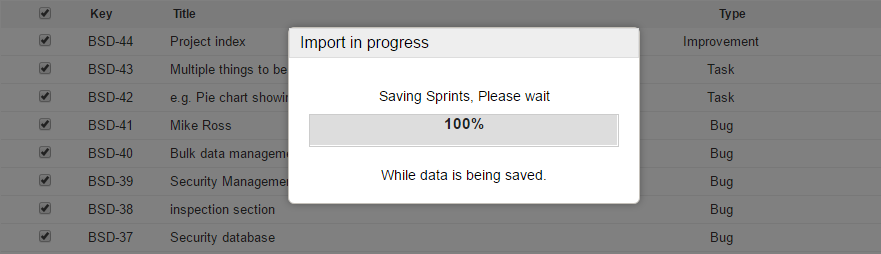
The above screenshot indicates that the import is in progress. Once the import process is complete, a popup notification appears saying “Successfully Imported”.
You can continue importing other Projects if you wish as you will be redirected back to Step 3 of import process. Click on “Start Import” button given with each project.
Otherwise Click on “Go Back To Application” option given on the top Navigation bar. The imported project will now be visible in the list of Projects in Yodiz.
Important Notes
- All the attachments, comments labels (as tags) and associated workflow is migrated from Jira into Yodiz.
- All Jira standard custom fields, except “Date-Time Picker” and “Select List (cascading)” are imported into Yodiz. Please note that “Date-Time Picker” is different from “Date Picker” Custom Field. Date Picker custom field imports fine in Yodiz.
- A Project screen will be automatically created for the project that would contain all existing supported Jira custom fields and Yodiz system fields.
- If you have large data, import might take some time. You can still open a new Yodiz tab and continue your work meanwhile.
Related: What Jira Item data values are imported in Yodiz?