Making it easier for customers to import their data into Yodiz has been high on our list. In last week release we have introduced very cool ways to get all of your project data into Yodiz with single click from Jira and Pivotal Tracker. There are also number of standard CSV imports available for data exported from other systems. You can now import data from following services.
1. How to import data from Jira
You can migrate all the data from Jira into Yodiz. You can simply select project from Jira and all it’s data along with issues, attachments, user stories features whatever you have there will be imported into Yodiz.
1-1 Here are easy steps to migrate from Jira
- In Yodiz go to Project Settings
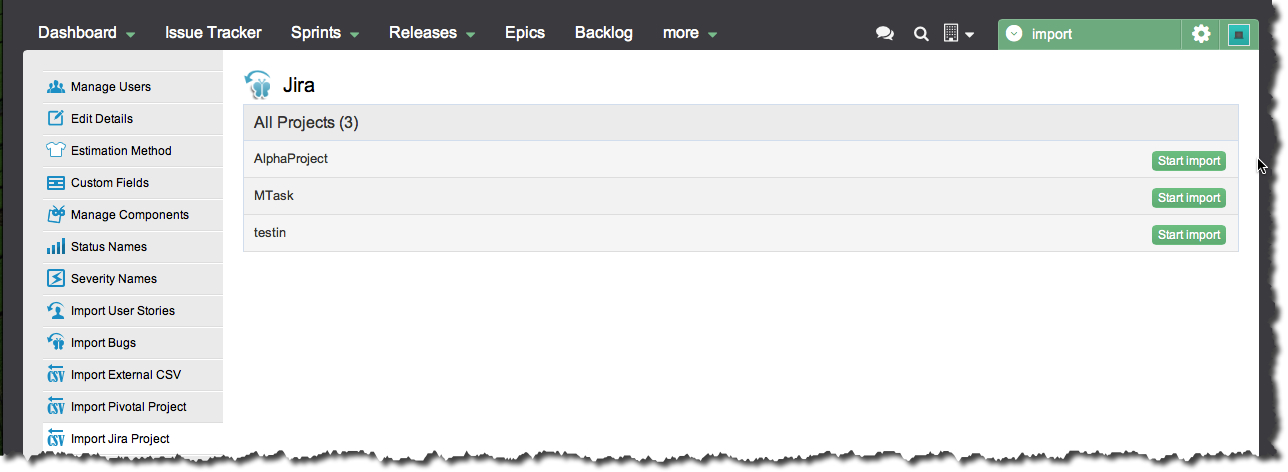
- Choose “Import Jira Projects”
- Provide your URL, User name and Password (we never save any of that information)
- Choose the Jira Project you want to import and select import project
- All data (sprints, userstrories, comments, attachment, issues, labels) from selected Jira Project will be imported
- At Yodiz NEW project with same name at Jira along with all data will be created.
Select Project(s) to import
After you have successfully established connection to Jira with your username, password and URL, you will see the list of your Jira projects as shown below.
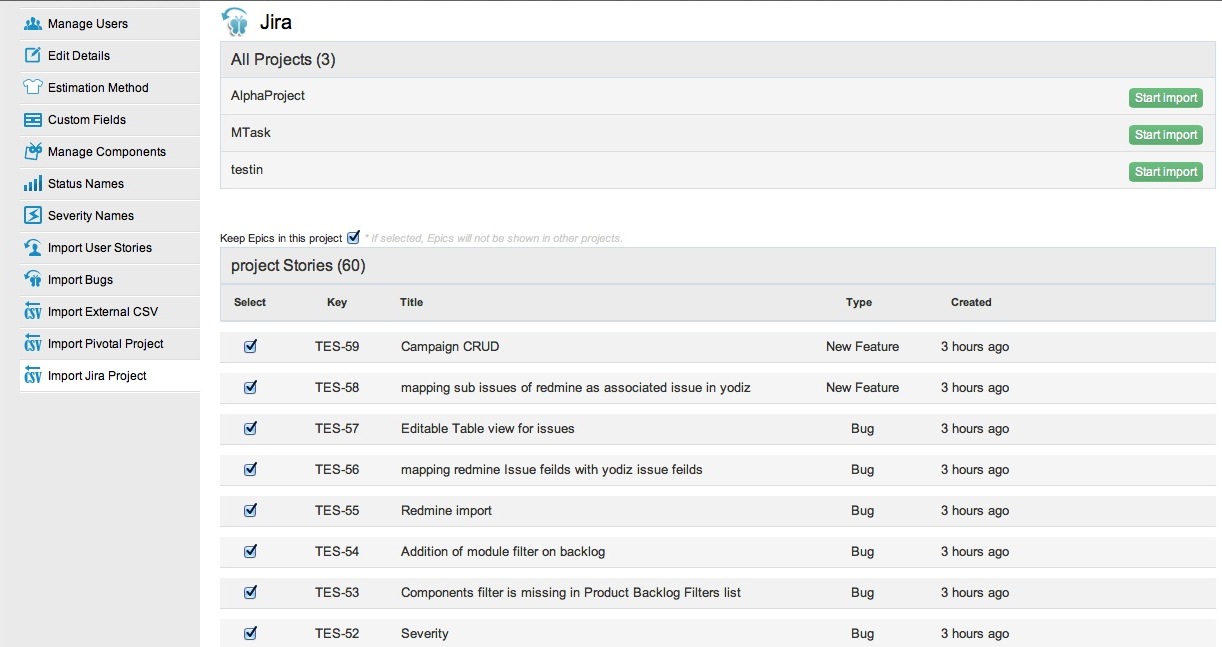
Verify Data
After you select “Start Import” all the data from the project will be shown in table for your verification and you have ability to un-check the data you don’t want. Once verified click on “Import Data” button at the bottom and all of your data from Jira project will be added to new Project at Yodiz with same name as Jira.
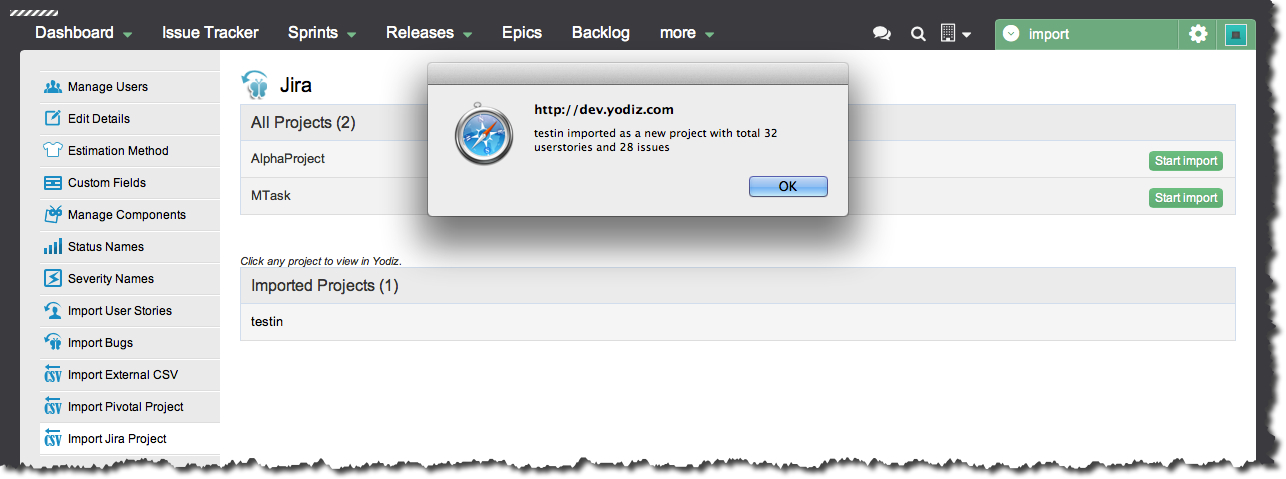
Import Done
A confirmation dialog is shown to highlight that all of your data is imported to a new project at Yodiz.
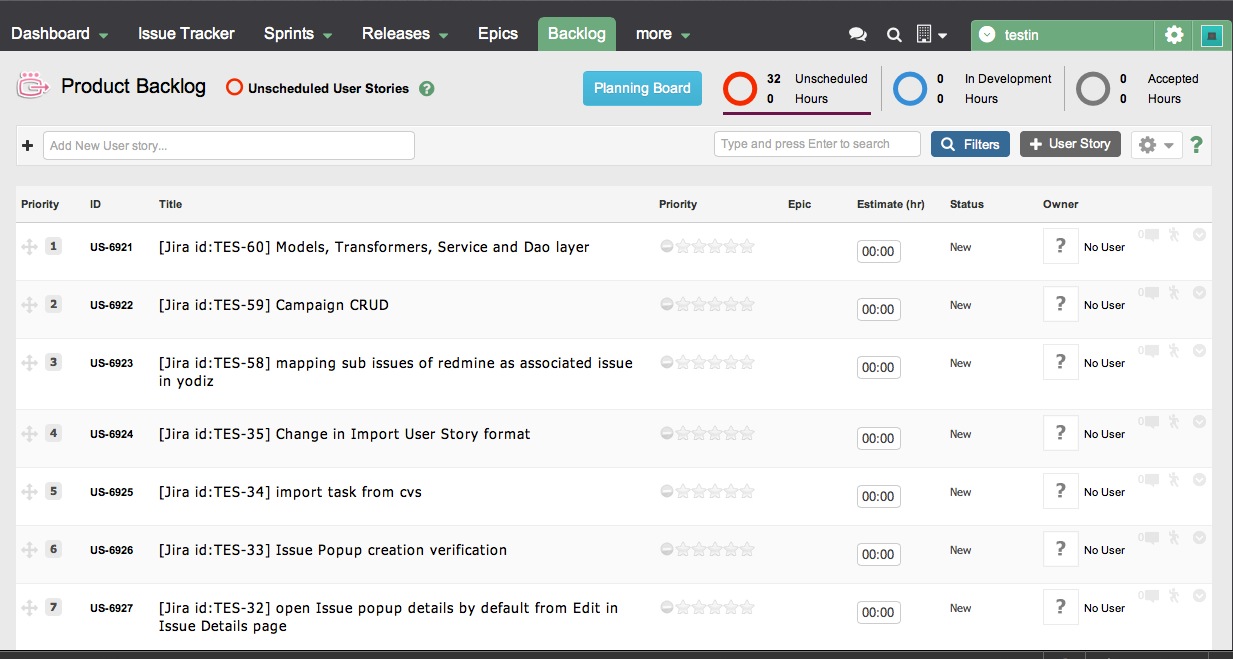
This how your Backlog look like in Yodiz after import from Jira
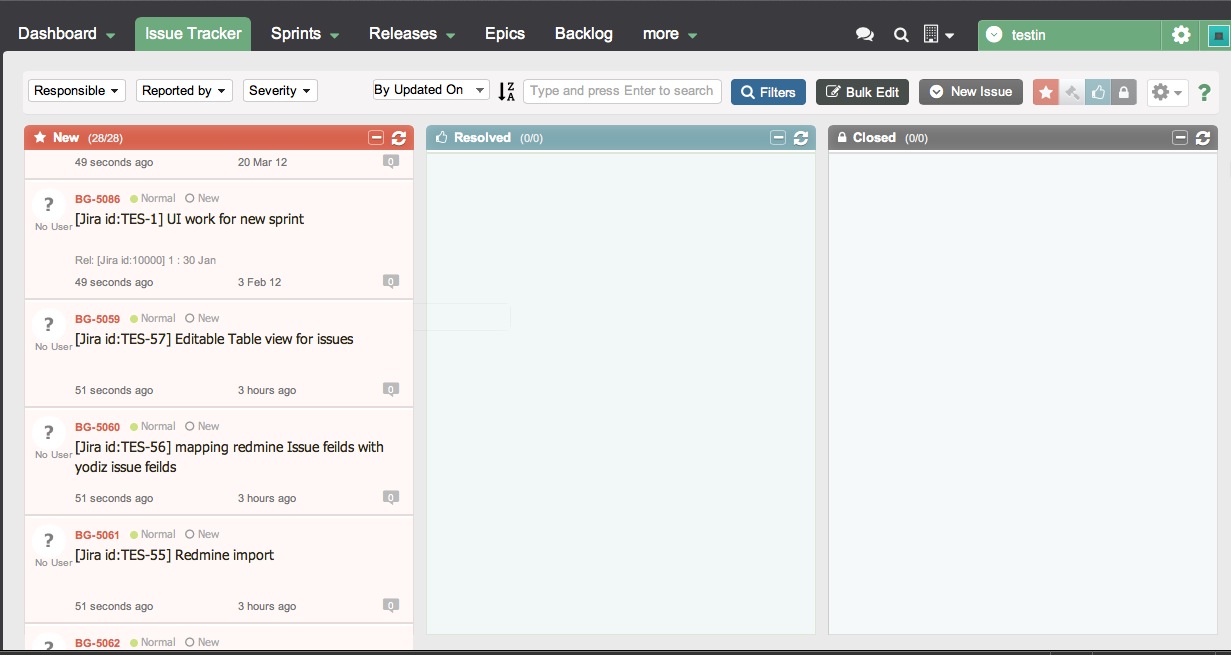
This is how your Issues look like in Yodiz
2- How to import from Pivotal Tracker
You can migrate all the data from Pivotal Tracker, simply select the project name and you will get copy here at Yodiz with all the data like issues, iterations, user-stories, attachments, comments and label. All you need to do is provide the API token and click Import Project. More details in following sections.
Summary of Import process
- Login to your Pivotaltracker account
- Go to Profile
- Browse down to get the API token
- In Yodiz go to Project Settings
- Choose “Import Pivotal Projects”
- Provide your API token
- Choose the Pivotal Project you want to import and select import project
- All data (sprints, user-stories, comments, attachment, issues, labels) from your Pivotal Tracker is imported
- All your projects are import in Yodiz with same name as in Pivotal Tracker.
2-1 Detailed Steps to Import
All the steps along with screen shots are explained below
Login to Pivotal Tracker
Login to to your Pivotal Tracker account to get the API token
Copy API Token
Browse down to get the API token
![]()
Select Project to Import
- After providing your API token all the projects from your Pivotal Tracker account are listed.
- Choose the Pivotal Project you want to import
Confirmation of data Import
After data is imported successfully from Pivotal Tracker and all the data is created at Yodiz a confirmation dialog appears.
This is how your Pivotal Tracker User-stories look like in Yodiz
This is how your issues look like in Yodiz
3- How to import from Mantis
Easiest and best way to import issues from Mantis is to use the standard Export CSV file from Mantis.
Export issues as CSV at Mantis
- Login to your Mantis account
- Select export to CSV option and save that file.
Import Mantis CSV file
- In Yodiz go to Project Settings
- Choose “Import External CSV”
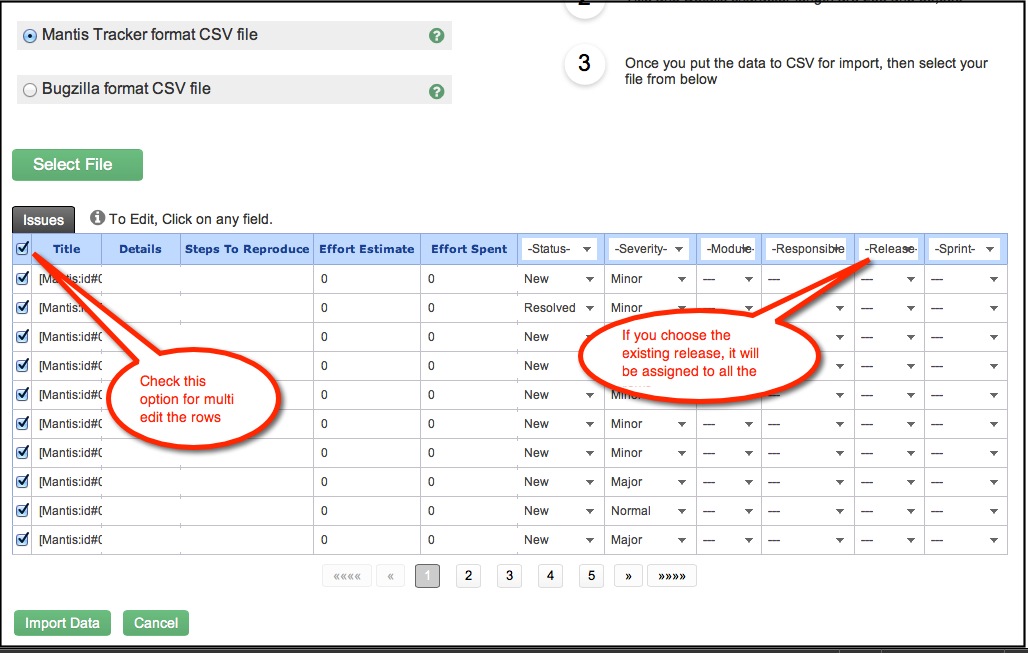
- Click on Mantis
- Click in “Select File”, select the same CSV file, which you imported from Mantis
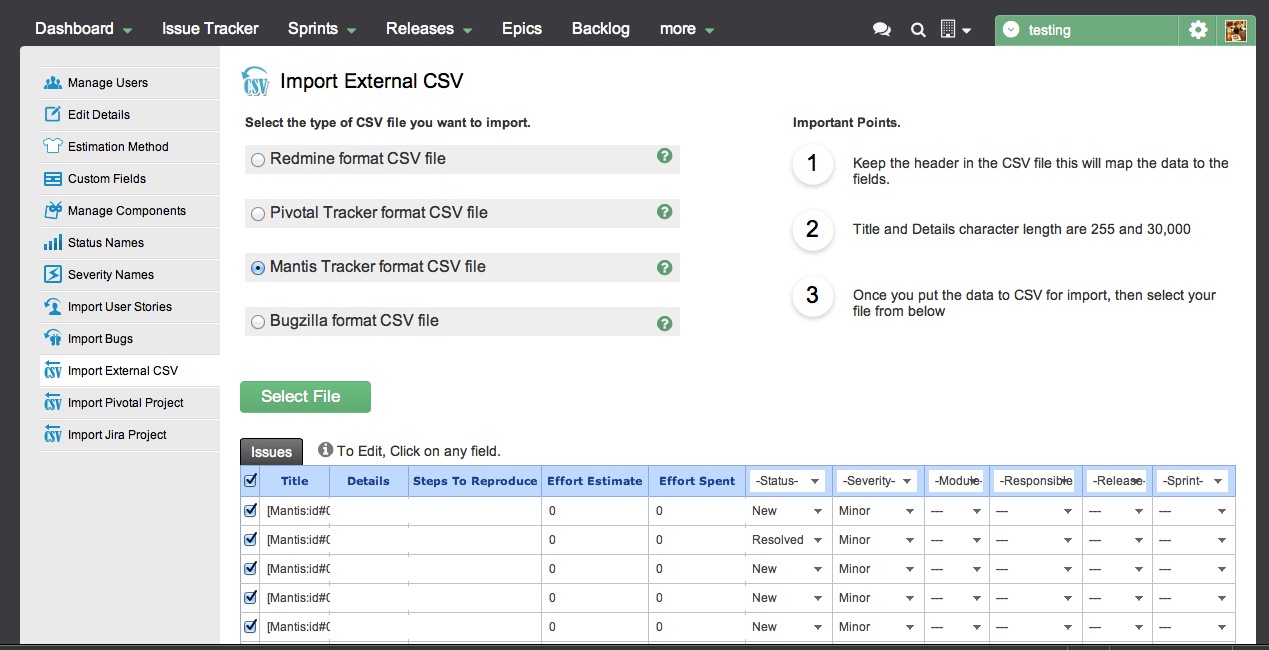
Edit the data before importing